


Computer vision best satisfies artificial intelligence tasks that would otherwise be solved with human eyesight. Hence, People counting, also known as crowd counting, is a common application of computer vision.
In this article, I will
- build my own people counting system using the No Code Platform Viso Suite,
- show you step-by-step how to do so, and
- will additionally review the Viso Builder interface as I walk you through the tutorial.
People counting is used to count people passing by or to estimate the number of people in an area or the population density of a crowd. In addition, the statistics of people counted provide useful information for event detection or strategy planning for a moderated area.
People Counting with Computer Vision and Deep Learning
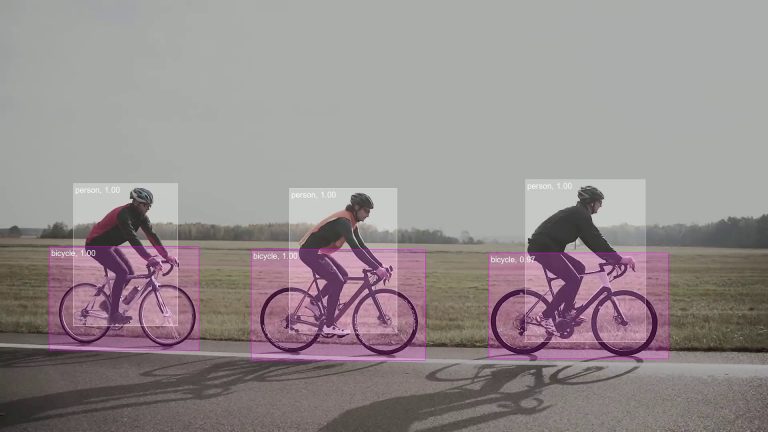
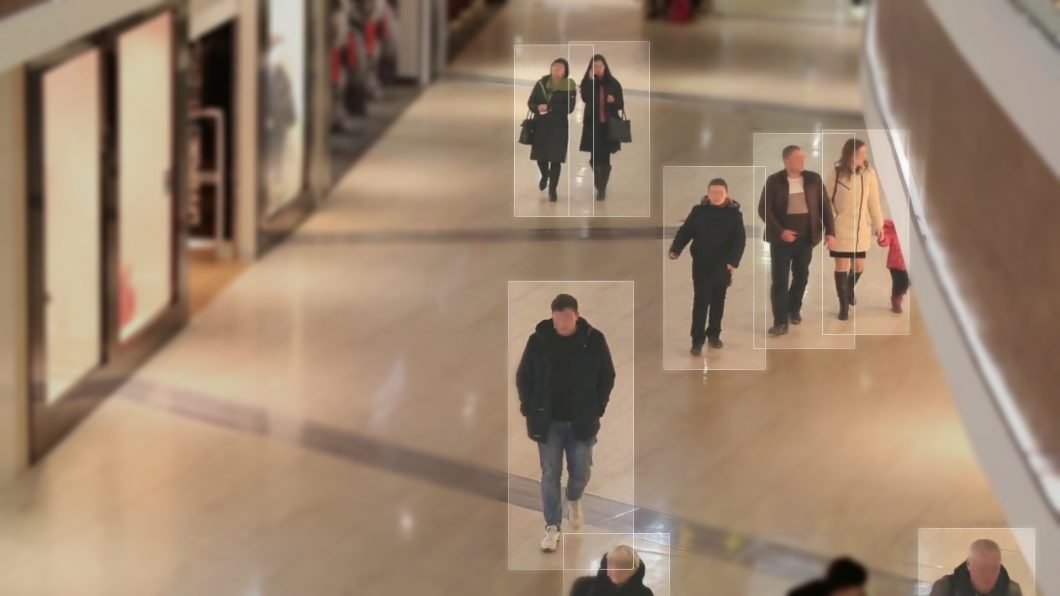
Person detection and tracking
The people counting system I will build in this tutorial should be based on object detection, with the goal of detecting people using neural networks. To create an object counter, we use object detection methods in combination with a region of interest to focus on a specific image region, and a counting logic to aggregate the detected classes (“Person”) that are the output of the algorithm.
We will deploy a pre-trained computer vision algorithm to a device. The algorithms processes images fetched from a connected camera or video source: CCTV, IP camera, USB camera, webcam, or even a video file played in a loop to simulate a camera stream.
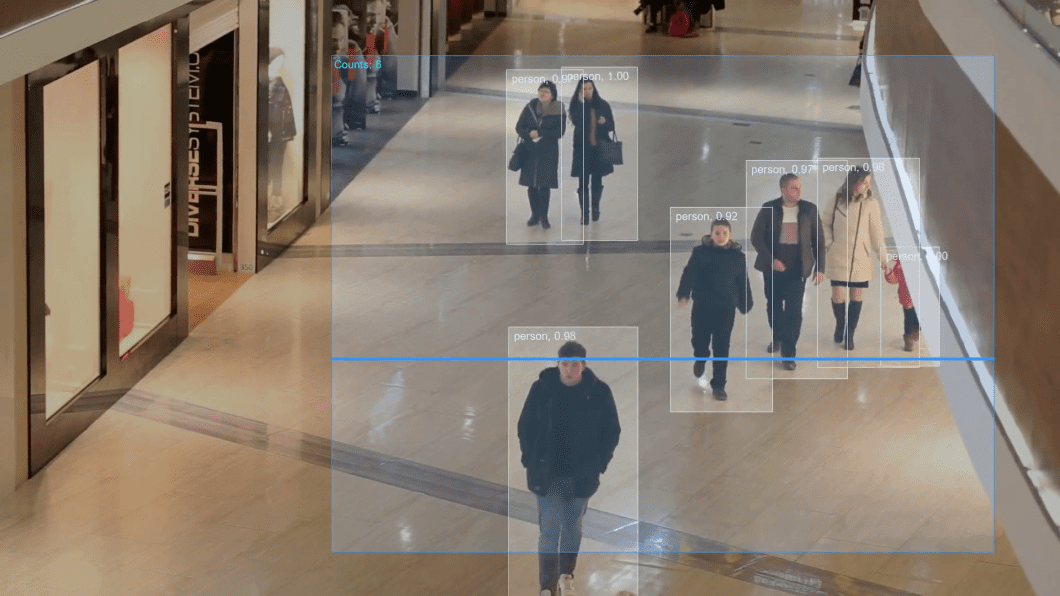
Region-of-Interest and counting logic
A common practice to implement a counting logic is to use a region of interest (coordinates of a specific section within the image), with a crossing line. The deep learning algorithms are only applied within the region of interest, which enables significant performance gains (smaller images, less complex background, etc).
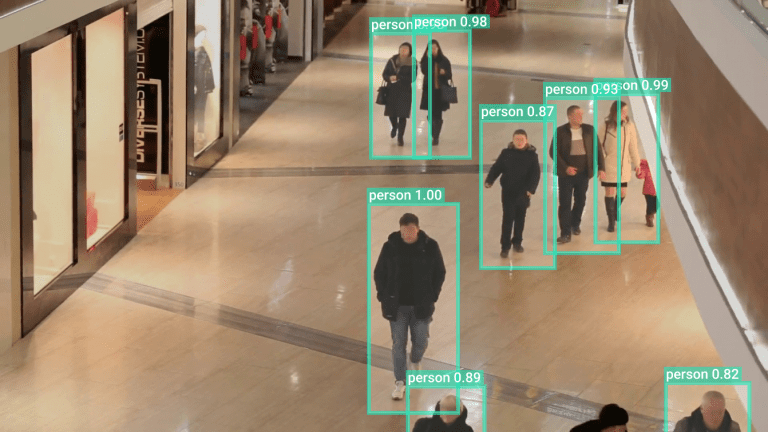
Object detection is used to detect the object, followed by object tracking to fetch the path of the detected object (here detected object is the class “person”). The counting system counts tracked objects that cross the predefined crossing line, simulating the entrance of a retail store, as an example.
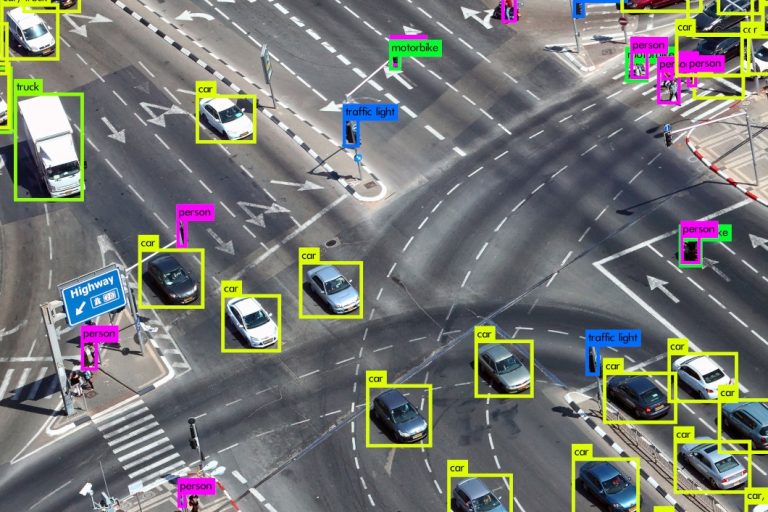
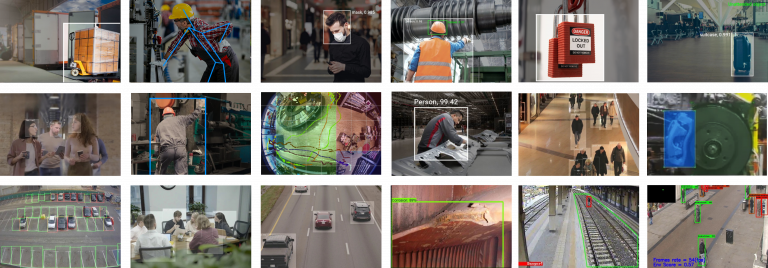
Viso Suite provides all the popular and state-of-the-art deep learning models as pre-built modules that can be used in the visual editor. You can use pre-trained neural networks that were trained to detect people and other classes on massive public image datasets, such as the MS COCO dataset.
Since most pre-trained CNN models (YOLO, SSD-mobile, etc.) are trained on frontal-view or side-view, only a few models are trained on top-down views. However, research shows that those models are very robust and provide good results even when applied in top-down view based people counting applications.
Connect Pre-Built Modules To Build the People Counting Application
For this Tutorial, you need a Viso Suite account.
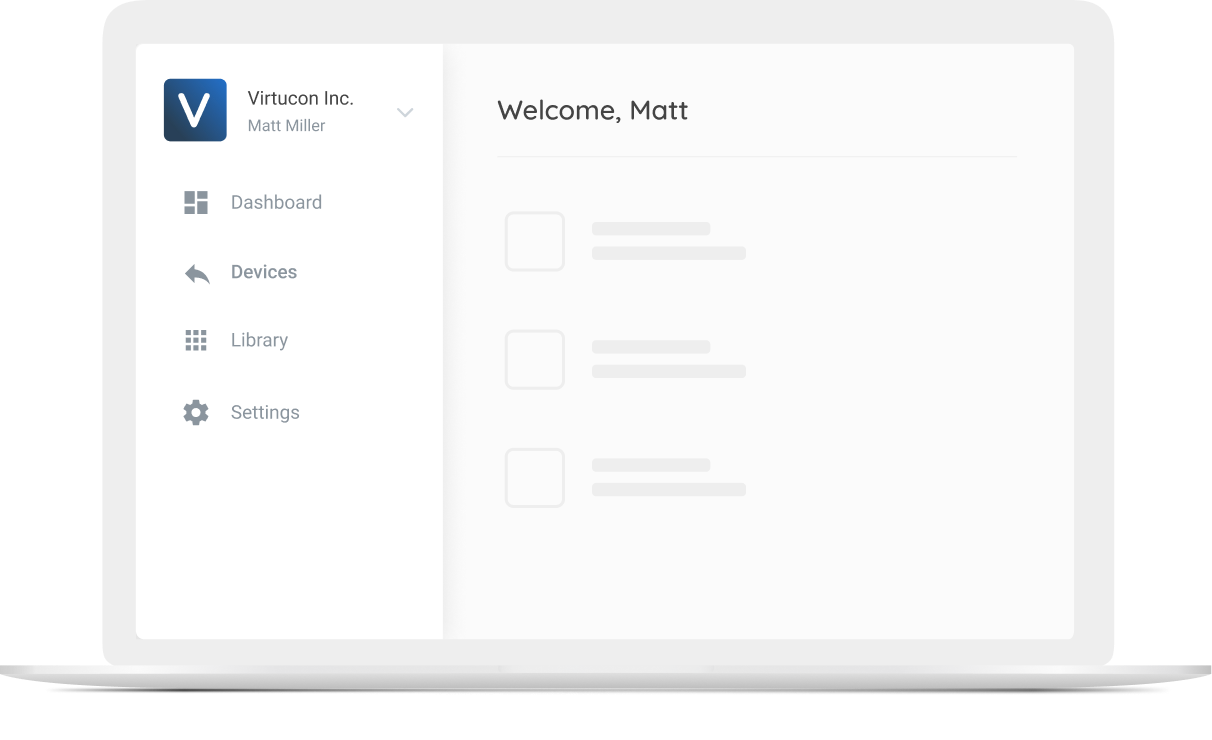
Logged into Viso Suite, I want to create my own people counting system using pre-trained models and off-the-shelf tools. This will be done in the Viso Builder, a visual programming interface for building computer vision applications.
The people counting system will contain several connected nodes, each performing a specific task towards accomplishing the final application.
- Video-Input: To get started, we need to configure the video source or where the frames will come from. These settings will tell my application whether to read the frames from an IP camera, USB camera, or video file. Capturing the frames from the right source is the very first step before passing the frames to the next node.
- Region of Interest: In this step, I want to tell my application where inside the image the algorithm should be applied to and where the counting should take place. This will speed up the processing time and configure the counting area for the system. The Regions of Interest can be configured as rectangle, polygon, or sections.
- Object Detection: From the pre-processed frames, I want to detect the objects of interest, in our case “people”. The Object Detection node allows me to select from several pre-trained AI models for different hardware architectures, using available AI accelerators such as VPU (e.g., Intel Neural Compute Stick 2) or TPU (Google Coral) out of the box.
- Object Count: In this step, we need to tell the system what to do with the detected persons, in our case “counting”. The Object Count node lets me define the analysis and aggregation interval of the detected objects and lets me set the upload interval to send the results to the cloud, where they can be picked up and displayed in a dashboard.
- Output Preview: The Video View node creates an end-point for showing the processed video stream, including detecting and counting results in real-time. While this will not be needed for my system in production, it is a good way for debugging and tweaking certain parameters while testing.
The Viso Builder makes it easy to add nodes to an application. I simply drag and drop the nodes mentioned above into the workspace grid, and they are ready to be configured without any additional programming.
For the system to work correctly, the nodes need to be connected in the right way. The video source should send the input frames to the Region of Interest (ROI) node to be further processed. At the same time, the frames should be sent to the Output Preview node, where the results will be displayed for debugging. Hovering over the connection dots shows the output of each node which makes it simple to choose the right connections.
Configure the People Counting Application
After the nodes are connected using the Viso Builder canvas, I want to configure each node to suit my needs. While the Region of Interest (ROI) piece of the application will need to be configured using a separate configuration interface, all other nodes are directly configured in the Viso Builder.
- Video-Input: My camera source will be a video file I previously uploaded to my Viso Suite workspace for testing purposes. The video is used to demo a real-world setting and is available for free via the internet. It simulates a real camera input and can later easily be changed to an IP or USB camera. For frame width, height and FPS, I want to keep the original video settings which are 1920 x 1080px at 30 frames per second. The video input node will automatically resize the frames if these parameters are changed or skip/duplicate frames respectively in case of a difference in the input FPS and the configured FPS value on the video input node.
- Region of Interest: First, I need to select the right type of ROI for my project. While section and polygon ROIs are more suitable for projects where we need to detect something inside or outside a certain area, the rectangle ROI fits best for people counting. Second, I want to make sure that the frame has the correct orientation and the “entrance” or “walking directions” are top-down. This way, it will be easier for the algorithm to detect people at a higher accuracy. This can be achieved by setting the correct angle while checking the changes in real-time. Third, I want to draw my rectangle and adjust the cross-line, which will trigger the counts once a person crosses the line (for both directions). These settings can be changed later on to test different angles and configurations.
- Object Detection: The Object Detection node lets me define the algorithms and hardware architectures for my system. Additionally, it allows me to set the objects of interest. In my case, I would like to test with a rather light model on a Vision Processing Unit (VPU) as an accelerator (the Intel Neural Compute Stick 2). In my case, I will use Intel Movidius Myriad X for model inference. I will test with SSD MobileNet V2 and select “persons” as my target objects to be detected. As for object tracking, I will use dlib’s implementation of the correlation tracking algorithm, which is available with a single click from the Object Detection node interface.
- Object Count: Now, I want to configure that my collected data is aggregated every 15 minutes and sent to the cloud once per hour. I select the analysis and upload interval accordingly, and the rest, including the secure connection to the managed cloud backend, will be configured automatically as I deploy the application.
- Output Preview: The last step, which is optional but helpful for debugging, configures a local endpoint to check the video output in real-time. I set the desired URL such as /video and will be able to check the output preview using the device’s IP address and the URL I set in the Output Preview interface. I additionally check the input field “keep ratio” to keep the original frame size in my Output Preview.
And that’s it! I can save my application, and it will create the first version ready to be deployed to an edge device of my choice.
Check the People Counting Result Preview
The people counting system is now ready to run. The program’s output can be reviewed with the Output Preview module, which was added to the workflow. The short extract of the video shows what to expect from the application we’ve just built.
Once the application is created successfully, it can be deployed to edge devices at the click of a button. Additionally, the data can be sent to a custom cloud dashboard, directly within Viso Suite.
What’s Next?
If you enjoyed reading this article, I suggest having a look at:
- A comprehensive list of computer vision applications in 2021
- The benefits of low-code computer vision development
- How to get started with your new computer vision project