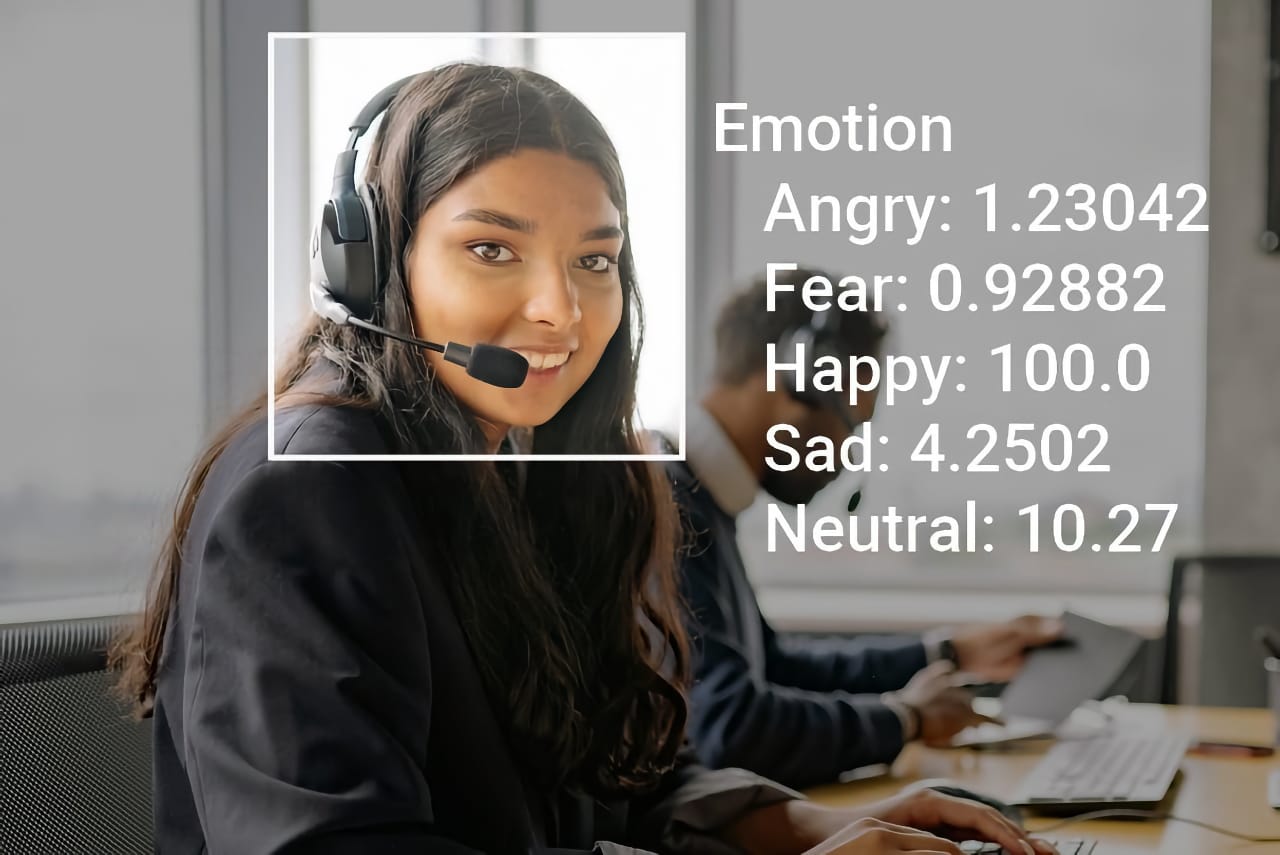
Computer vision best satisfies artificial intelligence and machine learning tasks that would otherwise be solved with human eyesight. Hence, face detection is a typical application of computer vision.
This article will show you how to build your face detection system, focusing on identifying faces from a video stream. In particular, you will learn how to develop your face detection system using Viso Suite.
The output of the application will provide you with the number and location of the detected faces. This information, together with other computer vision techniques, can be used in a diverse set of use cases. For example, recognizing facial features and facial expressions, and identifying people in biometrics, facial attributes, emotion analysis, or crowd analytics.
How to Use Face Detection with Computer Vision and Deep Learning
Face Detection
The facial recognition system I will build in this tutorial is based on real-time object detection to detect faces using neural networks. I will deploy a pre-trained computer vision algorithm to a device. The AI algorithms process images fetched from a connected camera or video source.
The camera could be any CCTV, IP camera, USB camera, webcam, or even a video file played in a loop to simulate a camera stream. You can also start with a video file and replace it later with a physical camera.
The pre-trained algorithm (and the ready-to-use application) can be downloaded from the Viso Marketplace. You can customize and edit the facial recognition software application or extend it with your code or integrations.
Pre-Trained Models
The object detection module provided by Viso Suite comes with pre-trained algorithms to detect various objects, including faces. These algorithms were trained on massive datasets, some containing 1 million annotated images. There are multiple models available for the use case in this tutorial.
You can select an AI model and test different settings quickly to benchmark various algorithms without writing a single line of code. This makes it possible to spend more time building iteratively testing and optimizing the face detector solution.
Visual Programming
To build the system presented in this tutorial, I will use the Viso Builder, which provides a visual programming interface. This allows me to create a visual workflow describing the application process using illustrations instead of writing code from scratch. Note: You can still add custom Javascript code if you want to.
Connect Pre-Built Modules To Build the Face Detection Application
For this tutorial, you need a Viso Suite account and workspace for your Computer Vision project. Logged into Viso Suite, I want to create my face detection system using a pre-trained model available in the Viso Marketplace.
The application-building process is done in the Viso Builder, a visual programming interface for building computer vision applications. The face detection system will contain several connected nodes, each performing a specific task toward accomplishing the final application.
How to Build the Face Detection Application
- Video-Input: To get started, we need to configure the video source or where the frames will come from. These settings will tell my application to read the frames from an IP camera, USB camera, or video file. Capturing the frames from the right source is the first step before passing the frames to the next node.
- Object Detection: From the incoming frames, I want to detect the objects of interest, in our case, “faces.” The Object Detection node allows me to select from several pre-trained AI models for different hardware architectures, using available AI accelerators such as VPU (e.g., Intel Neural Compute Stick 2) or TPU (Google Coral) out of the box. You can also link your custom algorithm.
- Output Preview: The Video View node creates an endpoint for showing the processed video stream, including the detection results in real time. While this will not be needed for my system in production, it is a good way to debug and tweak specific parameters while testing.
The Viso Builder makes it easy to add nodes to an application. I drag and drop the nodes mentioned above into the workspace grid, and they are ready to be configured without any additional programming.
For the system to work correctly, the nodes need to be connected in the right way. The video source should send the input frames to the Object Detection node to be further processed. At the same time, the frames should be sent to the Output Preview node, where the results will be displayed for debugging.
Hovering over the connection dots shows the output of each node which makes it simple to choose the right connections. The resulting stream of the Object Detection node will be sent to the Preview node so that we can see the detection boxes in real time.
Configure the Face Detection Application
After the nodes are connected using the Viso Builder canvas, I want to configure each node to suit my needs. All selected nodes are directly configured in the Viso Builder without coding.
- Video-Input: My camera source will be a video file. The video is used to demo a real-world setting and is imported if you download the face detection application from the Viso Marketplace (you can also upload your video files for testing). It simulates a real camera input and can later easily be changed to an IP or USB camera. For frame width, height, and FPS, I want to keep the original video settings which are 1920 x 720px at 15 frames per second. The video input node will automatically resize the frames if these parameters are changed or skip/duplicate frames respectively in case of a difference in the input FPS and the configured FPS value on the video input node.
- Object Detection: The Object Detection node lets me define the algorithms and hardware architectures for my system. Additionally, it allows me to set the objects of interest. In my case, I would like to test with a pre-trained OpenVino model. I select the OpenVino framework and Myriad as my target device. This will make my model run on the Movidius Myriad X vision processing unit inside my device. You can select another model or target device anytime. The model I would like to test is called “Face Detection Retail 0004” and can be selected from the model drop-down. I choose a threshold of 0.3 which means detection results with a confidence of over 0.3 will be returned. I will keep the default overlap value of 0.7 and set object width and height as 0.99 to include all object sizes. These settings can be changed later on if you see that the detection does not perform as expected. I select to show the output results to see the detection boxes on my video preview.
- Output Preview: The last step, which is optional but helpful for debugging, configures a local endpoint to check the video output in real time. I set the desired URL as /video and will be able to check the output preview using the device’s IP address and the URL I put in the Output Preview interface ([ip_address:1880/[URL]). I additionally check the input field “keep ratio” to keep the original frame size in my Output Preview.
And that’s it! I can save my application, and it will create the first version ready to be deployed to an edge device of my choice.
Check the Face Detection Result Preview
The face detection system is now ready to run. The program’s output can be reviewed with the Output Preview module, which was added to the workflow. Once the application is created successfully, it can be deployed to edge devices at the click of a button. Additionally, the data can be sent to a custom cloud dashboard directly within Viso Suite.
What’s Next?
Facial recognition technology is applicable in sectors across industries including law enforcement, crowd control, and more. By identifying human faces in digital images and videos, organizations can engage in improved security measures and data-driven decision-making.
If you enjoyed reading this article, check out our other articles:
- People Counting System: How To Make Your Own in Less Than 10 Minutes
- The Top 10 Applications of Computer Vision in Retail
- Top Best Applications Of Deep Learning and Computer Vision In Healthcare
- Computer Vision In Manufacturing: The 10 Most Popular Applications